How to Create a Webhook Listener?
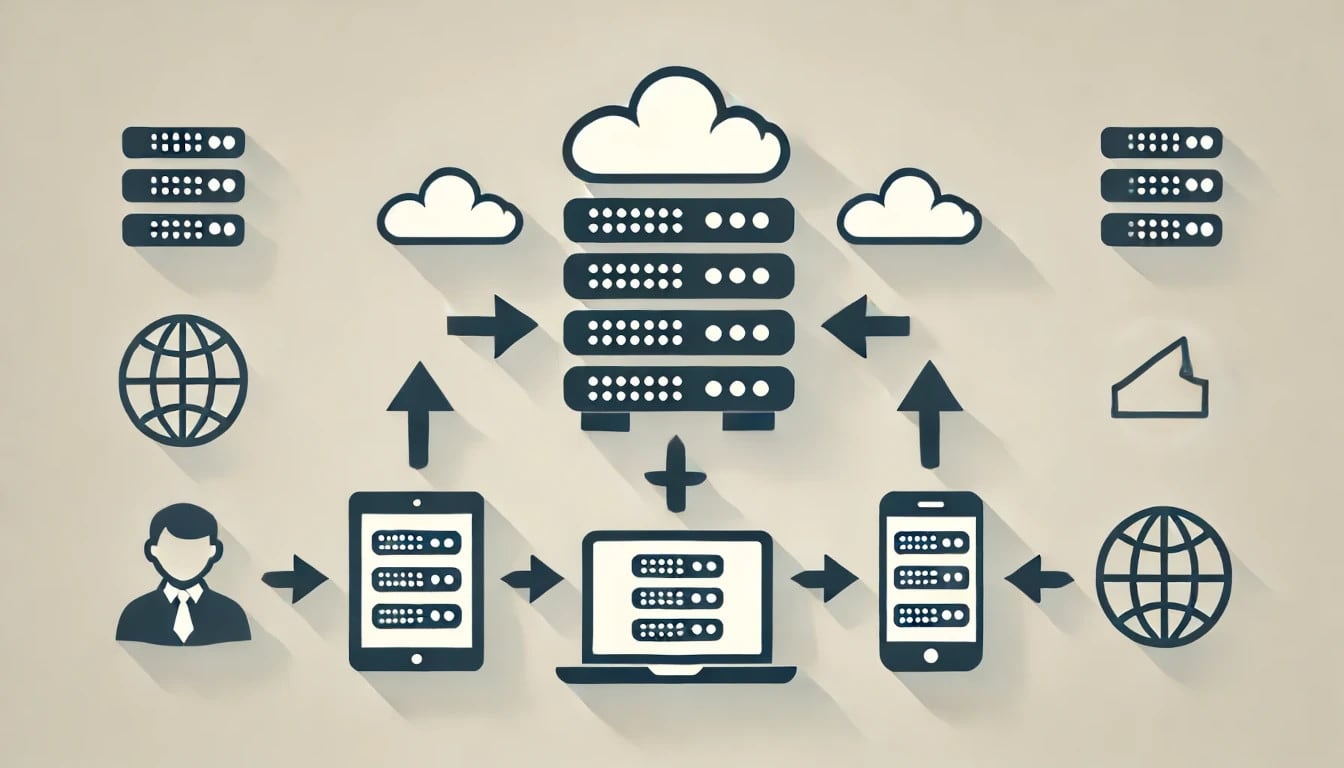
Say you want your application to instantly know when an event occurs—like when data changes or an update is made. That’s where webhooks come into play. Webhooks are automated messages sent from one application to another, triggered by specific events. They allow you to receive and act on real-time information as it happens.
For example, imagine a scenario where a customer completes a purchase on your ecommerce platform. A webhook could be triggered to send purchase details to your script, that will then use this information to fetch additional customer data from a customer data platform and update the customer’s rewards points in a third-party app like Yotpo.
A webhook listener is the code that listens for these incoming webhooks, allowing your applications to take immediate action based on that information. Let’s take a look at the different ways we can set up a webhook listener.
Creating a Webhook Listener
There are two main approaches to setting up a webhook listener: using a web server or opting for serverless computing.
Web Server

A web server runs continuously, listening for incoming webhook events. The simplest way to set up a web server is to lease a virtual machine from a cloud hosting provider such as AWS or DigitalOcean. You would then choose an operating system, usually a reliable Linux distribution like Ubuntu or CentOS. Once your VM is up, you would install web server software such as Nginx or Apache to handle HTTP requests, configure SSL to secure your server with SSL/TLS, and set up your application to receive and process the webhooks.
The primary advantage of using a web server is the complete control it offers over both your application and the server environment. You can customize configurations to suit your specific needs, which is not always possible with serverless, as it often imposes limitations on software, hardware, and execution duration.
Advantages:
- Full Control and Customization: Complete control over the server environment, configurations, and ability to run customized software and modify hardware settings.
Disadvantages:
- Complex Setup: Requires configuration of operating systems, web servers, and SSL certificates.
- Continuous Costs: Incur costs for running servers 24/7, regardless of demand.
- Maintenance Required: Regular updates and maintenance are necessary to ensure security and performance.
Serverless
On the other hand, serverless computing allows you to execute code without the complexities of server management. The setup process typically involves just writing your webhook handling code and deploying it to a serverless platform.
Deploying serverless code is notably simpler and quicker. In many instances, you simply write the code, deploy it, and all other aspects—such as server management, SSL certificate setup and renewal, and system maintenance—are handled automatically.
Serverless computing can also be more cost-effective, particularly for applications with infrequent requests. You only pay for the compute resources you actually use. Conversely, a traditional web server continuously runs and consumes resources regardless of demand.
Finally, serverless platforms manage scaling automatically, seamlessly adding servers and balancing loads as needed – something that would take a massive amount of work in a traditional server setup.
Advantages:
- Simplicity: No need to manage servers, operating systems, or SSL configurations.
- Cost-Effective: Pay only for the compute time you use, reducing costs for low-usage applications.
- Automatic Scaling: Handles increases in demand without manual intervention.
- Maintenance-Free: All server maintenance and updates are managed by the provider.
Disadvantages:
- Cold Starts: Potential delays when functions are invoked after idle periods.
- Runtime Limitations: Functions have maximum execution time limits, which may not suit all applications.
Ultimately, the decision between using a web server and going for serverless computing depends on your application’s specific requirements and operational needs. For straightforward tasks such as webhook listening, serverless is often the ideal choice due to its simplicity. We will explore how to set up a serverless webhook listener in the next section.
Using CodeUpify to listen for webhooks
codeupify.com is a serverless platform that makes it pretty simple to get a webhook listener up and running. Here are the steps to set up a sample Python webhook listener:
- Create an account
- Create a function
- Select Python as your language
- Select Async for concurrency
- Add necessary environment variables (such as API keys required for interacting with other services)
- Add the libraries your function will need
- Add the code with your webhook listener logic
import requests

def handler(request):
	# Parse the incoming request
	# Send a request to a third party service
	# ...
- Once you click save, CodeUpify will deploy your function and provide a URL
The URL you receive is the endpoint for your webhook listener. Simply set this URL as the target in whichever service is sending webhooks.
Conclusion
That’s it! Once your webhook is set up, make sure to thoroughly test it across various scenarios to ensure it handles all expected events accurately. Try to simulate different conditions and payloads to verify that your listener responds correctly. Additionally, ongoing monitoring of your webhook is essential to quickly identify and resolve any errors or performance issues that may arise over time.